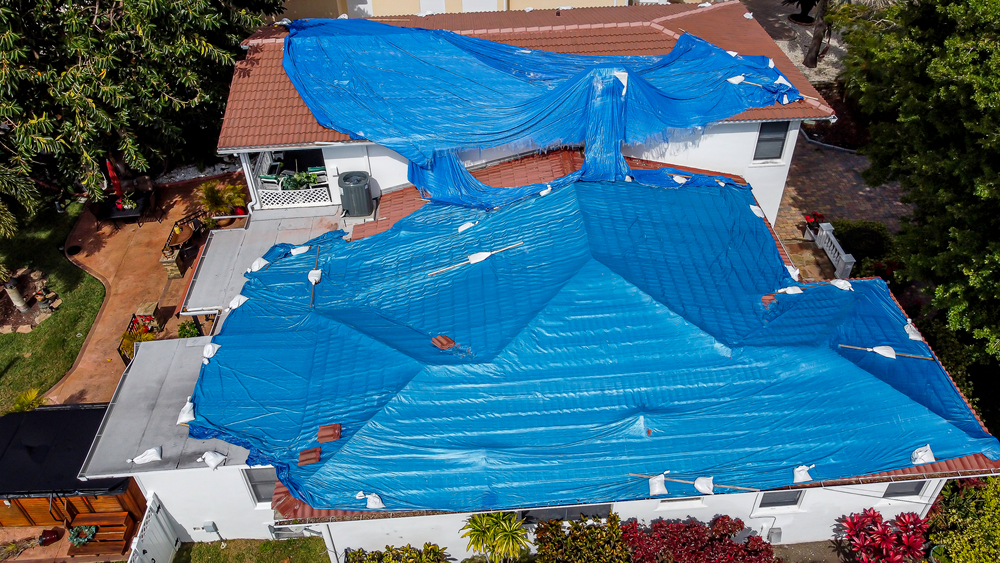
Since roofs are easily one of the most exposed parts of the house, they often sustain damages as a result of storms.
This is when the need for roof tarping arises. It protects the home’s interior from being exposed to any leaks that may result from a damaged roof, which can poison the structural integrity of a house. Roof tarping helps curb the water leaks from seeping into the house.
Tarping also acts as an overall shield for the roof – often protecting it from further damage. It is a temporary solution that provides about 90 days of protection to keep your home protected until you start permanent repairs.
Read on to know why, when, and how you can implement emergency roof tarping for your house.
Why Tarp Your Roof After Storm
- To cover any openings on a damaged roof
- To protect the house interior from further damage
- To keep your family protected from toxic mold spores that thrive in moisture
- To keep your family safe from fires caused by damaged electrical systems, water contamination, and debilitating structural damages
- The insurance company may ask you to make temporary repairs to avoid additional damage costs. Roof tarps help with providing a solution
- To shield your roof from further rains or wind
When to Tarp Your Roof Post-Storm
- If you hear the water drip from above
- If you notice light piercing through your roof
- If you notice yellow or dark-colored spots on your walls or ceilings
- If you see the water trickle down your walls or ceilings
- If you notice cracked shingles on the ground or missing shingles
- If you see dents on your roof
- If you notice sand-like granules (residue from damaged shingles) in your gutter
How to Tarp Your Roof After a Storm
How to put a tarp on a roof? From analyzing the damages to finally securing the tarp in place, a lot goes into the process of effective roof tarping. Before starting the tarping process, make sure you’re wearing the proper safety gear to do the job.
- Examining and Cleaning – Use a ladder to reach the roof and document every noticeable damage. Clean the debris, leaves, branches, and other rubble to view the area better.
- Select the Right Tarp – Measure the total surface area of damage to find the right-sized tarp. A tarp must cover the entire surface and have an extra four feet overhang from the roof when installed.
- Positioning the Tarp – Use sandbags to hold the tarp in place. You can also use wooden boards and nails to secure the tarp. Create a 2×4-inch anchor board and roll it into the tarp’s peak-end – the goal here is to nail the tarp to the board. Secure another board over the first to keep the tarp fully in position. This process is often a two-person job. You can ask a friend or family member for assistance.
- Secure the Tarp – This includes using a screw gun to hold the tarp firmly in place, so no water leaks into the house.
Does Your Roof Need Fixing?
If your roof is damaged from a storm, it’s critical to take immediate action. Roof tarps are a temporary yet efficient solution to protecting your home and family. While roof tarping on your own is a possibility, it can quickly turn into a dangerous fiasco if not performed correctly.
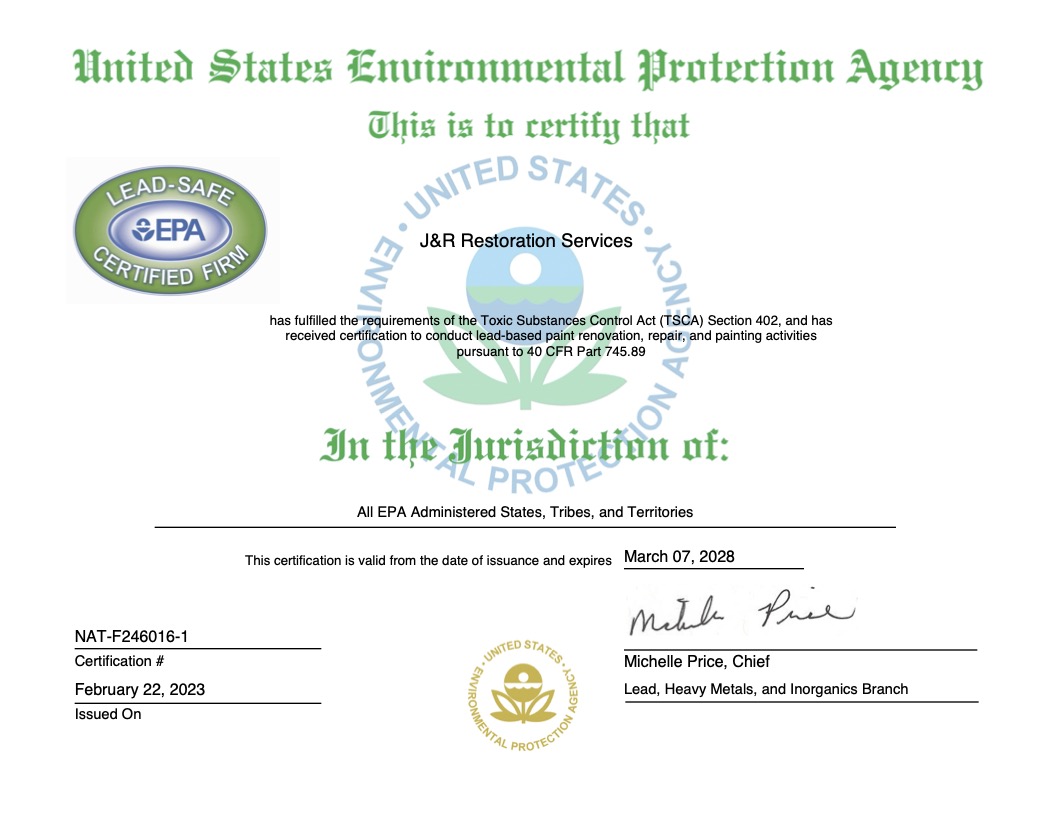
This is why getting professionals on board can be a fruitful decision for safety and monetary purposes. When seeking a professional roof tarping service, it’s always important to factor in the quality, efficiency of the installation, and economic aspects. With a highly-qualified team, J&R Restoration can be just the right tarping service for your damaged roof.
Are you looking for a quick and efficient roof tarping service near you? Reach out to us for a high-quality, tailor-made tarping solution. It’s free of tears or rips and robust enough to protect your house from any upcoming damages.
